Documentum D2 Smartview SDK
The D2 Smart View SDK consists of sources, binaries, documentation, and samples for -
- D2 Smartview UI extension environment.
- D2-REST services extension environment.
- D2 plugin development environment.
It also includes a few tools to create and maintain a development workspace.
With the D2 Smart View SDK you can build enterprise-ready software components for Documentum D2 Smartview runtime to cater custom business needs.
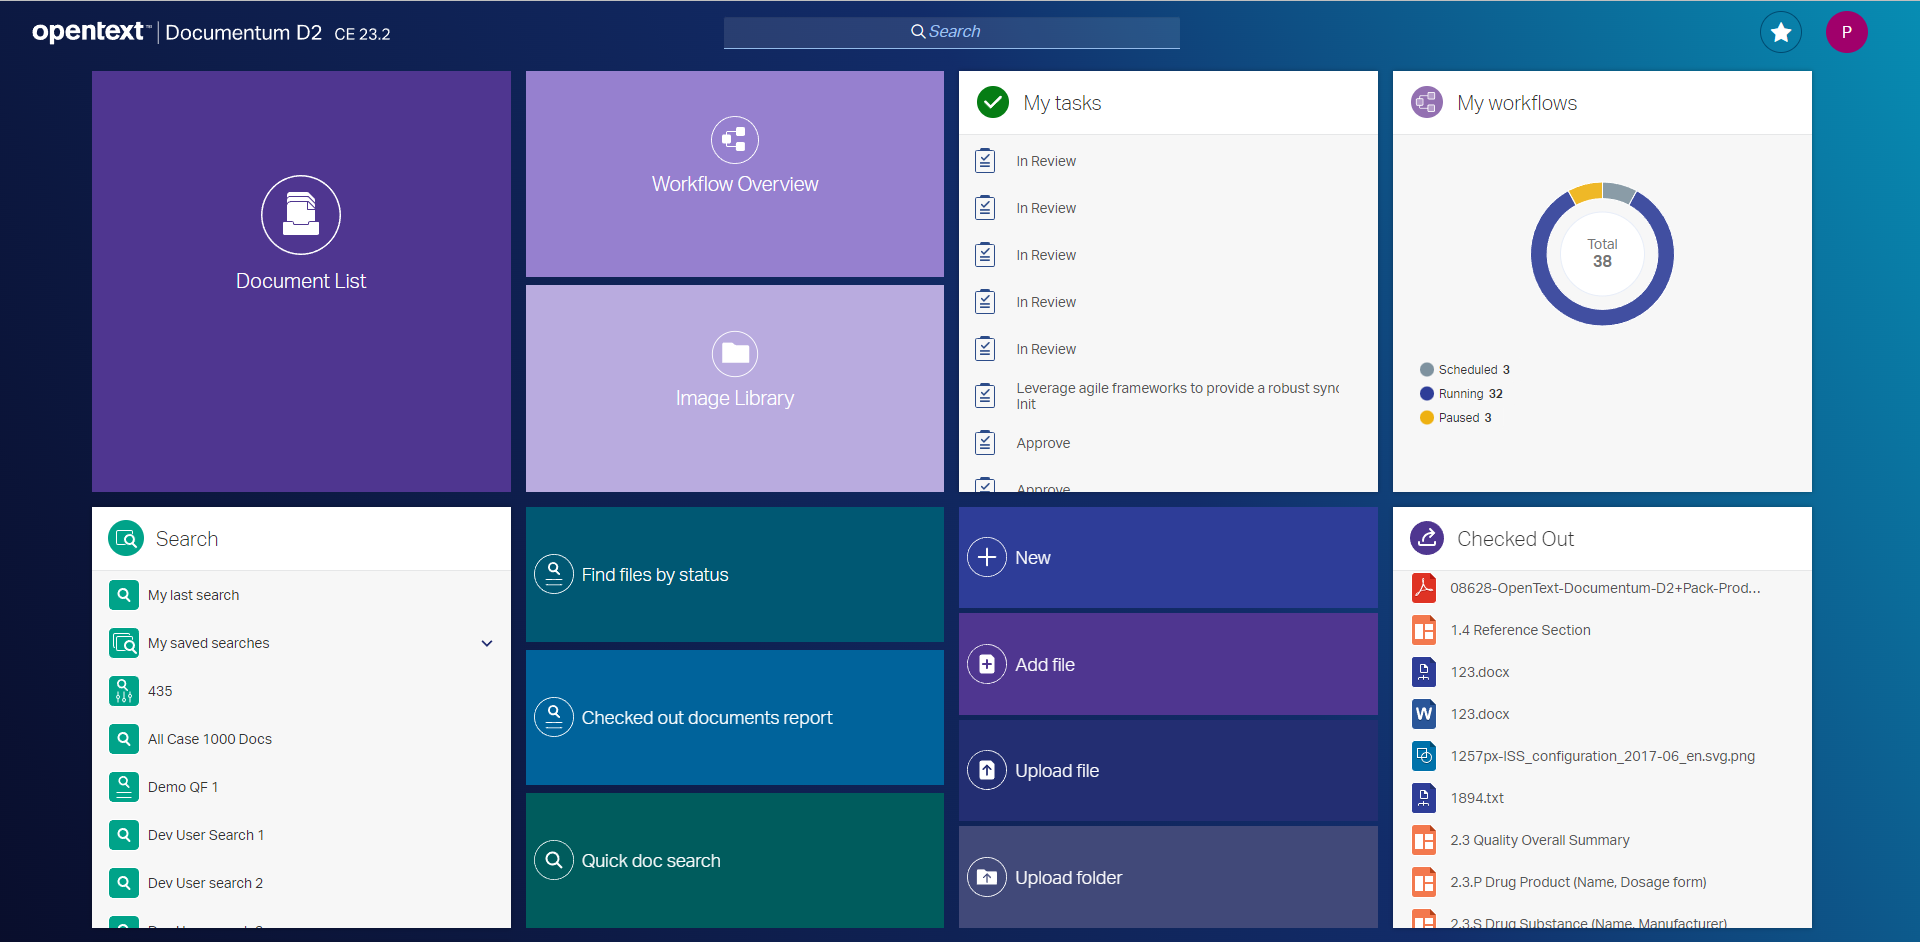
Out of the box, D2 Smart View landing page looks like:
How to prepare and start with the development environment
- Download developer tools
- Install developer tools
- Create the development workspace
- Get familiar with SDK tools
- Create a plugin project
- Start coding
1. Download the developer tools for your OS:
JDK         - JDK is required to compile Java code present within a development workspace.
              Use JDK 17 or later.
              See https://openjdk.java.net
Maven       - Apache maven is the secondary build tool used in this SDK development workspace.
              Recommended version is 3.8.2. A different version may not be fully compatible.
              See https://maven.apache.org
NodeJS      - JavaScript VM to execute the SDK tools, build tools and to run the development web server for UI code.
              Recommended version is 20 LTS. A different version may not be fully compatible.
              See http://nodejs.org.
Grunt       - JavaScript task runner for building and testing UI code.
              See http://gruntjs.com. Nothing to be downloaded from this URL though.
2. Install the developer tools for your OS
JDK         - Run installer. Set the JAVA_HOME path variable to point to the JDK root directory.
Maven       - Unzip & extract to a directory. Set MAVEN_HOME environment variable pointing to the directory.
              Update PATH variable accordingly so that Maven commands can be executed from command-line/terminal.
NodeJS      - Install the package for your OS. Set NPM_HOME path variable pointing to the NodeJS
              installation directory. Update PATH variable so that Node & NPM commands can be executed from
              command-line.
              It is recommended to avoid installing NodeJS under 'Program Files' as doing that has been known to create
              problem some times.
NPM         - Update the NPM module management tool to the latest version:
                npm install -g npm@latest

Grunt       - Install the command line task runner client as a global NPM module
                npm install -g grunt-cli
3. Create the development workspace:
# 1. Extract the SDK
# 2. Open a command prompt at the extracted folder

# Execute batch script ws-init.bat
>ws-init.bat

# It will take a while to fully initialize the workspace.
# Once initialization completes successfully, the workspace assistant starts automatically. Select "Check out documentation" option to open documentation in default browser.
#
# The directory where SDK was extracted becomes the root of the development workspace.
# It doesn't require to run ws-init.bat inside the initialized workspace again, unless some other instructions specifically says to do so.
# If you want to run the workspace assistant anytime later, open a command prompt/terminal at workspace root directory and run
>npm start

# Select "Nothing", to terminate the workspace assitant, if wanted.

# To access the documentation without the workspace assistant, you can run the following command in a command prompt/terminal at the workspace root.
>npm run documentation
4. Get familiar with Workspace assistant
Check out the Workspace assistant. It's a good idea to familiarize yourself with the general aspects of the SDK, this can be done later though.
5. Create a plugin project:
# Open command prompt at workspace root and run
>npm start

# Select "Create a new plugin project" from the workspace assistant options.
# Follow on-screen instruction and anser questions to create your first plugin project.
# Once done, type and run-
>npm run build

# Or, alternatively run the workspace assistant again and select "Build all plugins in this workspace" option.
# This will build all projects in the workspace
6. Getting started with SDK development
If you are a new SDK developer, you can check out this documentation to get started.
7. Start coding
Check out the API documentation and start coding as per business requirement.